


Recently, I decided to try my hand at a little dip-dyeing. I'm happy to report it was super easy. Want to know how?
Supplies: Bucket, RIT dye of your choice, absorbent paper (I used watercolor), clothesline/pins.
Step One: Pour hot tap water in your bucket (at least 6 inches) and add a little bit of dye (I used about half of a "fuchsia" powder dye packet) and stir. Let cool slightly.

Step Two: Holding paper as straight as possible, dip in dye to desired line. Leave in until you are satisfied with the color. If you aren't, you can dip it right back in.
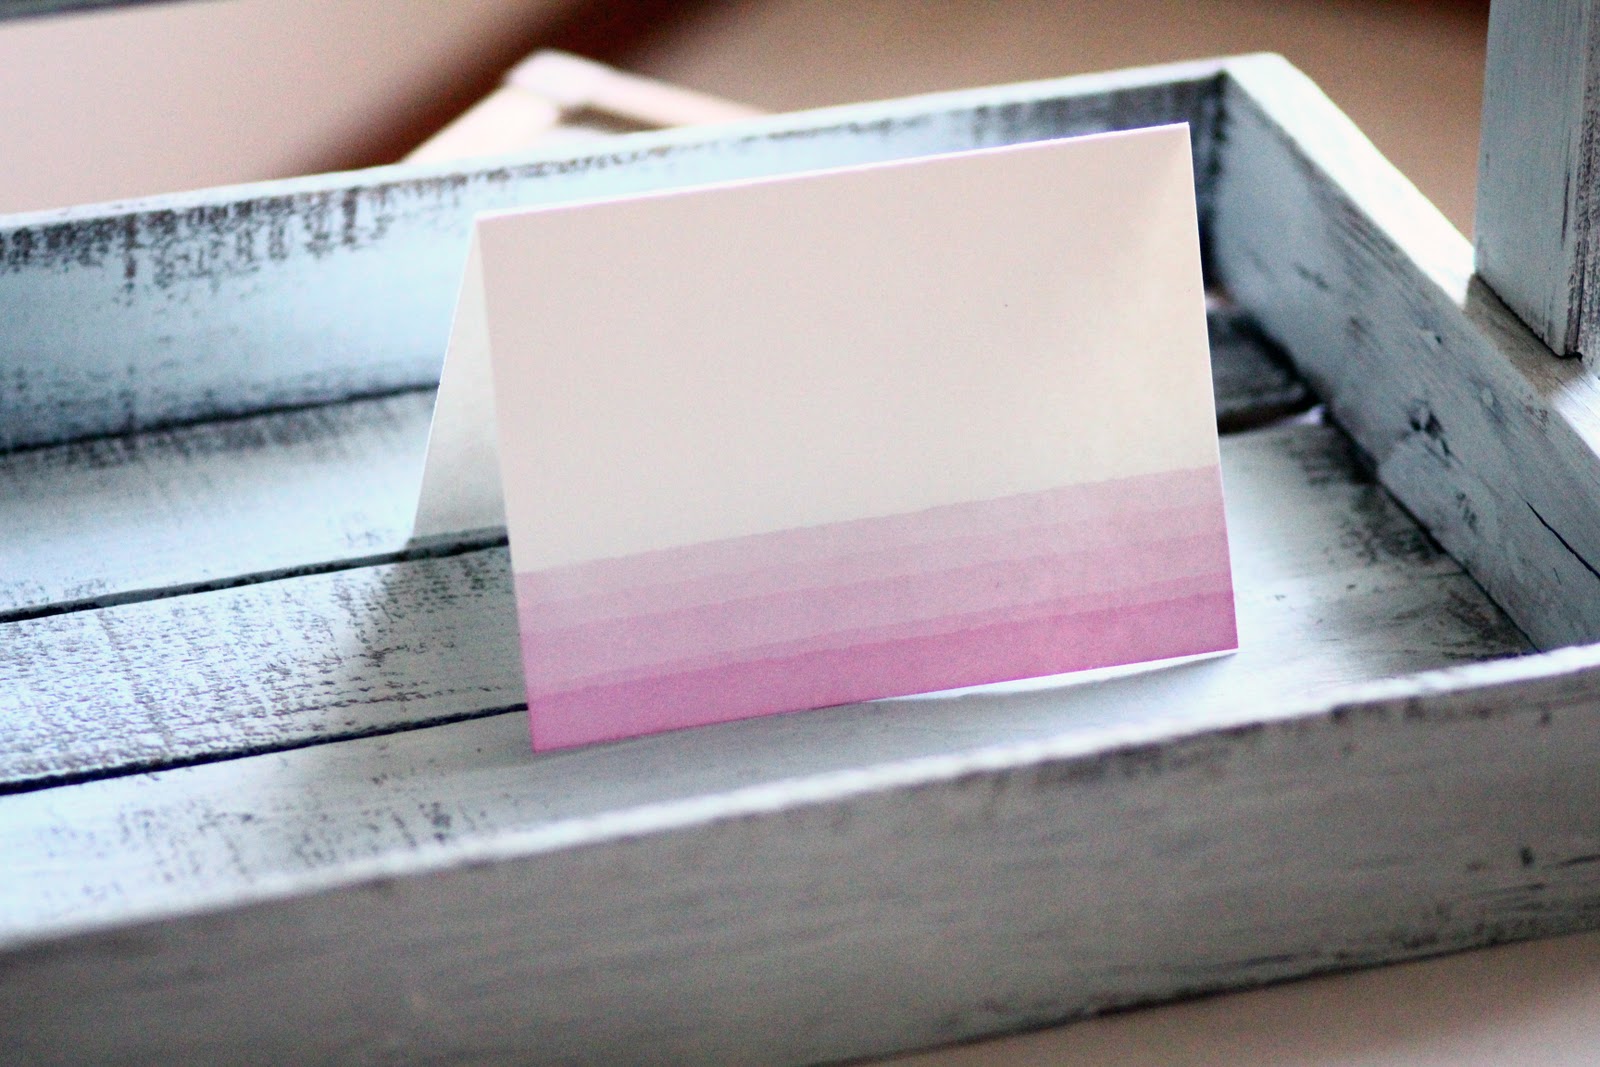
To achieve the ombre look I did, hold the first dip for the longest amount of time, then move the paper down into the dye slightly and hold for a little less time. Continue the process until you have the look you want (I did four. The first dip was 1 min, the second line was 45 sec, 30 sec, 15 sec, 5 sec).
Step Three: Gently hang your paper using a clothespin to dry. You might want to put an old towel underneath as the paper will drip a little as it dries.


Tomorrow is my birthday, and I've been trying to come up with a little something to give away over here. I'm so grateful for the new things in my life this past year, including this blog, and including you.
I decided I would give away a set of four dip-dyed cards with envelopes. All you have to do is comment on this post between now and Monday. Random.org will choose a winner on Monday.

The original tutorial I followed can be found here.

LOVE them. LOVE your photos. LOVE your creativity. LOVE YOU!!! Happy Birthday, friend! (I want to give you a birthday gift... 50% off ANY item in my Premier jewelry catalog for YOU! Let me know).
ReplyDeletethese are fabulous! I might have to try my hand at this for some personal stationary! Thanks for the great tutorial!
ReplyDeleteI loveeee STATIONARY. these are beautiful.
ReplyDeletethe cards are so pretty! if i don't win i'll definitely have to create my own. and happy birthday tomorrow!
ReplyDeleteHappy Birthday Randi. I just love seeing all the things you come up with. The party was awesome and I bet all the children were thrilled with their little gifts. Thanks for the lesson. Maybe I can try this sometime. It was good to see you a couple of weeks ago. Take care and God Bless.
ReplyDeleteI love these too! Thanks for sharing!
ReplyDeleteFun idea...I might try it with fabric! BTY - I have your birthday present...should have mailed it, but part if it isn't quite finished. So,I will keep it here for your next visit in a few weeks. In the meantime, HAPPY BIRTHDAY!!!
ReplyDeleteThey're beautiful, Randi!
ReplyDeleteGreat idea! Thanks :)
ReplyDeletedanamsummers@yahoo.com
Lovely! I'd be happy to write notes in four of those cards. :)
ReplyDeleteThis is cute! Reading your blog has so inspired me to my own crafting :) So much fun!
ReplyDeleteThese look great! I thought of you yesterday because Amy took me to Hobby Lobby!!! Had never been there---WOAH was I in paradise!!!!! I don't know how I had not been aware that this store existed; you must love having it so close! :)
ReplyDeleteI love those, and how easy!
ReplyDeleteWow!!!!! They are so beautiful!!!!!! I would love to have them!!!!!!
ReplyDeleteMichelle Torres
decorater4life@aol.com