Showing posts with label Invitations. Show all posts

Wednesday, May 25, 2011

A shower for Landon

Recently a new client approached me about making some invitations for her daughter's baby shower.  When she told me the theme was the San Diego Chargers I was a bit worried.  Sometimes it's hard to mix classy with a sports theme.

When I got to work, I was surprised how easy it was to design.  Just goes to show a party theme is what you make it!  I ended up loving the final product.


I can't wait to see how the rest of their party turns out!

Tuesday, May 17, 2011

A Colorful Garage Fete


Remember these colorful invites?  Saturday was party day, and in spite of a little weather problem, we had a great time.


Thanks to a little drizzle and wind, we decided to set up the party in my parent's garage.  Not the perfect canvas to decorate (hello Ken Griffey Jr. posters), but we did alright.


I love how bright colors pop when everything else is white.


Lots of family and old friends came by to say goodbye (for now) to Melissa and Ross before they leave the country.


We tried some different Korean dishes (don't ask me what they were!) made by my sister's mother-in-law and sister-in-law.  They were so sweet to find the recipes online and prepare them all!


At some point people started playing with the extra streamers, until the whole garage was full of color and I couldn't see the person I was talking to.  When the party started winding down, the kids had a blast gathering the streamers and putting on a show.


P.S.  Looking for a resource for those big beautiful balloons?  I got mine here.

Monday, May 9, 2011

Photobox.

Our church had this photo booth set up yesterday for Mother's Day.  How fun is that?


I didn't realize when I pushed the button "black and white" that the photos would immediately begin.  Oops.  At least we got it together by the end!

While we're at it, how about these cool photo booth invitations?

Thursday, April 28, 2011

Hand-dyed Invites


Have you met my fabulous sister Melissa?  If you have, you know that her and her husband, Ross, are moving to South Korea in June.  She is going to be an English teacher there (let's keep ignoring the fact that my little nuclear family will be spread all around the world very soon...).  We're having a little get together soon to send them off.

Remember the dip-dyed cards I made a while back?  I made these colorful invites using the same technique.


Color is everywhere this year.  Have you found yourself adding more to your life?

*Photo of Melissa courtesy of Ross James

Thursday, April 7, 2011

Dip-dyeing + Giveaway


Recently, I decided to try my hand at a little dip-dyeing.  I'm happy to report it was super easy.  Want to know how?

Supplies:  Bucket, RIT dye of your choice, absorbent paper (I used watercolor), clothesline/pins.

Step One: Pour hot tap water in your bucket (at least 6 inches) and add a little bit of dye (I used about half of a "fuchsia" powder dye packet) and stir.  Let cool slightly.


Step Two: Holding paper as straight as possible, dip in dye to desired line.  Leave in until you are satisfied with the color.  If you aren't, you can dip it right back in.

To achieve the ombre look I did, hold the first dip for the longest amount of time, then move the paper down into the dye slightly and hold for a little less time.  Continue the process until you have the look you want (I did four. The first dip was 1 min, the second line was 45 sec, 30 sec, 15 sec, 5 sec).

Step Three:  Gently hang your paper using a clothespin to dry.  You might want to put an old towel underneath as the paper will drip a little as it dries.


Tomorrow is my birthday, and I've been trying to come up with a little something to give away over here.  I'm so grateful for the new things in my life this past year, including this blog, and including you.

I decided I would give away a set of four dip-dyed cards with envelopes.  All you have to do is comment on this post between now and Monday.  Random.org will choose a winner on Monday.


The original tutorial I followed can be found here.

Wednesday, April 6, 2011

Peter Pan Party Reveal: Part Two

As promised, here is a closer look at the details of yesterday's party!

Invitations:


Leah (Abbey's Mom) wanted each child to receive their own copy of Peter Pan along with their invitation.  The invites were modeled after books themselves and were tied with twine and two red felt feathers.

I don't know about you, but my daughter would be ecstatic to receive a new book in the mail!

Activities:


There was a packet of pixie dust (sewn shut) for each child to sprinkle on their cupcake.  Cupcake toppers made of wooden dowels and striped fabric adorned each treat.


There was a bag and coloring book waiting for each guest on the coffee table.  The drawstring fabric bags held a bundle of crayons and a compass.


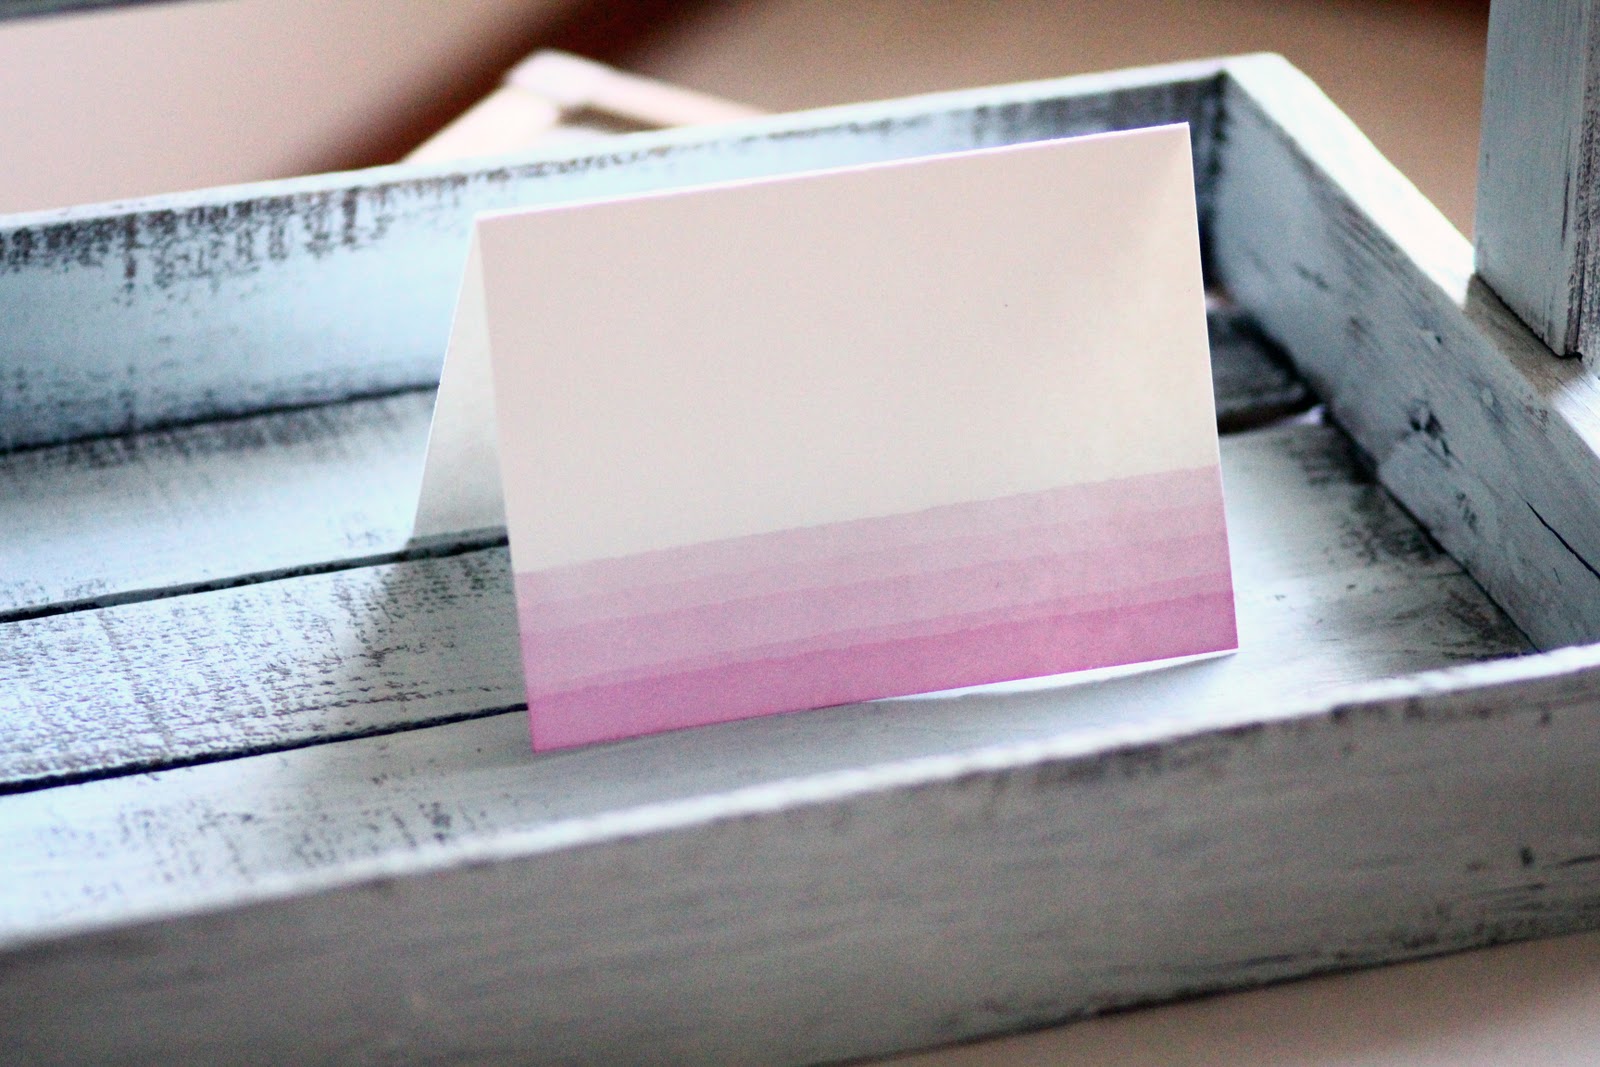
Guests wrote "happy thoughts" to the birthday girl on these little cards and then made them "fly" by tying them to white balloons.


On their way out the door, guests received wooden treasure chests full of jelly beans and a bookmark.


There was a paper Peter Pan hat for each guest complete with a handmade paper feather.

Decor


A garland made of felt feathers hung over the table.  Unfortunately, the one pictured here got completely tangled in transport!  It was a nightmare, but my genius husband saved the day.  We reconstructed it using thin fishing line instead of thread.  We also attached a small clasp to each wire so the feathers could be transported individually and clipped on the day of the party.  Phew!  Crisis averted.


I created a window using an unfinished wood frame.  Fabric curtains were added and the silhouettes of Wendy and Peter were cut out of stiff felt.


More silhouettes in white frames and handmade fabric tee pees also adorned the party table.

Well, there you have it!  If you missed yesterday's post, go here to see the party in action.

I had so much fun putting this party together and seeing Abbey's eyes light up when she saw everything.  Magical indeed.

Interested in having Swoon involved in your next party?  Please contact me at swoonpaper@gmail.com, I would love to help!

Thursday, March 31, 2011

Wild Rumpus Party (via hwtm)


I am so in love with this "Wild Rumpus" party featured on the site Hostess with the Mostess.  The whole thing was dreamed up and photographed by Jackie of Jackie Culmer Photography and Design.

I love the bright pops of yellow and the woodland details.  Where the wild things are is a current favorite bedtime read of my daughters.  It's fun to see the story come to life in such a fun and playful way.


See all the fun details here!

What about you?  Are there any childrens books you would like to see come to life in a party?

Friday, March 25, 2011

Happy mail


I just received the cutest thing in the mail yesterday from Dandee and Lindsay.  They sent a "ticket" to all the attenders of Project Craft.


Wanna see what's inside?


My husband was standing next to me when I opened it. He smiled and said, "that's a lot of work for a little ticket."

He just doesn't get it.  

Project Craft is coming up this Saturday.  I hope to work on some little things for my shop (opening soon!) while rubbing shoulders with some locals who love to create as much as I do.  I feel so lucky to have a place to do that.

Do you have any fun plans for this weekend?  Whatever they are, I hope it's a good one ;)